Hey there! As a supplier of arm rubber bushings, I often get asked about how to ensure proper alignment when installing these little but crucial components. It's not rocket science, but there are definitely some key steps and tips that can make the process a whole lot smoother. So, let's dive right in!
First off, let's talk about why proper alignment matters. Arm rubber bushings play a vital role in your vehicle's suspension system. They help reduce vibrations, absorb shocks, and provide a stable connection between different parts of the suspension. If they're not aligned correctly, it can lead to a whole bunch of problems. Your vehicle might start to handle poorly, you could experience uneven tire wear, and in the worst-case scenario, it could even compromise the safety of your drive.
Before you even begin the installation, it's essential to do some prep work. Start by gathering all the tools you'll need. A good set of wrenches, a socket set, and a torque wrench are absolute must - haves. You'll also need a jack and jack stands to safely lift and support your vehicle. And don't forget about safety gear like gloves and goggles.

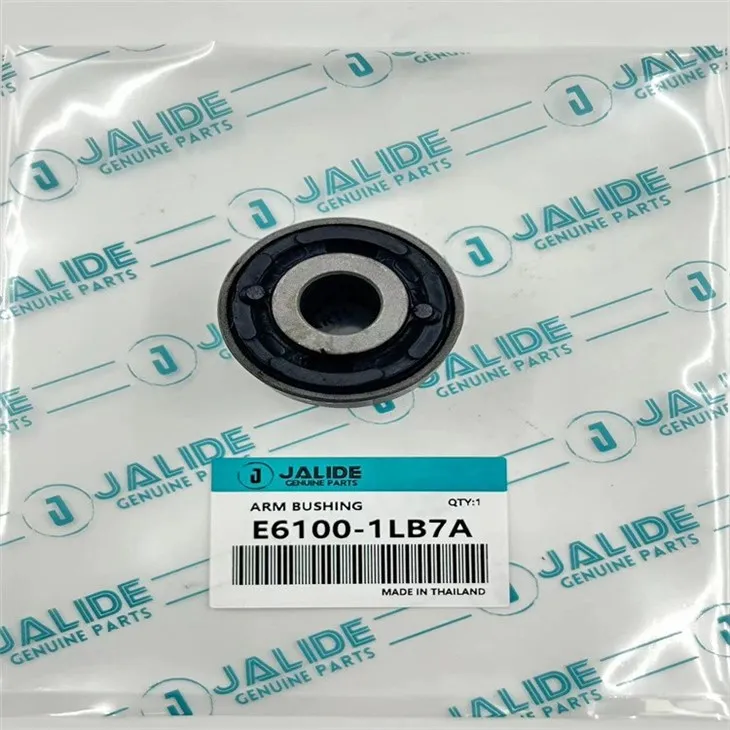
Now, let's take a look at the parts themselves. We offer a wide range of arm rubber bushings that are designed to fit various makes and models. For example, we have the E6100 - 1LB7A - BS Shock Absorber Bush For NISSAN Patrol. This bushing is specifically engineered to provide a perfect fit and optimal performance for Nissan Patrol vehicles. Then there's the 51391 - 55A - 024 Bushing Lower Arm For Honda 2x Honda Civic EP MK7, which is a great option if you own a Honda Civic of that particular model. And for Nissan drivers of other models like the AD, Cube, Bluebird Sylphy, and Grand Livina, we have the 11220 - ED000/11220 - AX000/11220 - AX600/11220 - ED000, Engine Mounting For NISSAN AD / AD Expert, Cube Cubic, Bluebird Sylphy, Grand Livina.
Once you've got your parts and tools ready, it's time to start the installation. The first step is to lift the vehicle and secure it on jack stands. Make sure the vehicle is level and stable before you start working underneath it. Safety should always be your top priority.
Next, locate the old bushing that you need to replace. This might involve removing some other components like bolts or brackets to gain access. Take your time and be careful not to damage any surrounding parts. Once you've removed the old bushing, clean the area where the new bushing will be installed. Any dirt, debris, or rust can affect the alignment and performance of the new bushing.
Now, it's time to install the new bushing. Before you put it in, check the alignment marks on the bushing and the mounting point. These marks are there for a reason, so make sure they line up perfectly. If there are no alignment marks, you'll need to rely on some other methods. One way is to use a straightedge or a laser alignment tool. Place the straightedge across the mounting surface and the bushing to make sure they're parallel.
If you're using a laser alignment tool, follow the manufacturer's instructions to set it up correctly. The laser will project a straight line, and you can align the bushing with this line. This method is super accurate and can really help you achieve a perfect alignment.
Another important thing to consider is the torque settings. Each bushing will have a recommended torque value provided by the manufacturer. Use a torque wrench to tighten the bolts to the correct torque. Over - tightening or under - tightening the bolts can throw off the alignment and cause problems down the road.
Once the bushing is installed and the bolts are tightened to the correct torque, double - check the alignment one more time. You can do this by visually inspecting the parts to make sure everything looks right, or by using the alignment tools again.
If you notice any issues with the alignment during the installation, don't try to force it. Instead, take a step back and figure out what's causing the problem. It could be something as simple as a misaligned bracket or a damaged part. Fix the issue before proceeding to ensure a proper alignment.
After the installation is complete, lower the vehicle from the jack stands and take it for a test drive. Pay attention to how the vehicle handles. If you notice any strange noises, vibrations, or handling issues, it could be a sign that the bushing isn't aligned correctly. In that case, you might need to go back and check the alignment again.
In conclusion, ensuring proper alignment when installing an arm rubber bushing is crucial for the performance and safety of your vehicle. By following these steps and using the right tools, you can make sure that the installation goes smoothly and that the bushing is aligned correctly.
If you're in the market for high - quality arm rubber bushings or have any questions about installation and alignment, don't hesitate to reach out. We're here to help you find the right parts for your vehicle and ensure a successful installation.
References
- Automotive Repair Manuals
- Manufacturer's Specifications for Arm Rubber Bushings